Territories set by default Colorado, United-States
Recommended purposes
- Sell my personal information
- Use my personal information for targeted advertising
Recommended SPIs
- Use information that reveal my racial or ethnic origin,
- Use information that reveal religious beliefs
- Use information that reveal mental or physical health condition or diagnosis
- Use information that reveal sex life or sexual orientation
- Use information that reveal citizenship or immigration status
- Use information that reveal my genetic data
- Use information that reveal my biometric data for the purpose of uniquely identifying an individual
Integrations
| IAB TCF | No |
| Google Consent Mode V2 | No |
| GPP | Yes |
| GPP String documentation | Colorado |
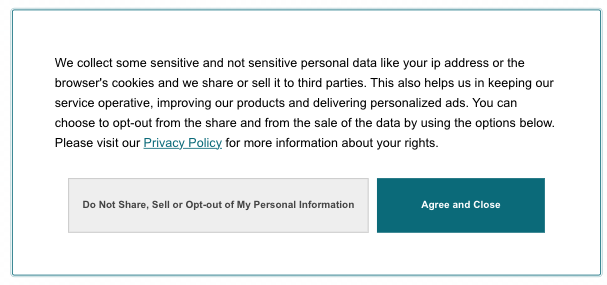
Notice example
GPC signal
Global Privacy Control (GPC) is a privacy signal supported by several browsers for users to specify at the browser level that they do not want their data to be processed (more details about GPC and supported browsers available in GPC specifications).
Didomi CTDPA notices support GPC automatically.
As soon as the signal is detected, your CTDPA notice is adjusted to respect the user choice via GPC:
- A "GPC signal detected" icon is displayed in the notice.
- All personal information will be set to Do not sell / Do not share.
- Instead of Agree and Close there will be a Close button.
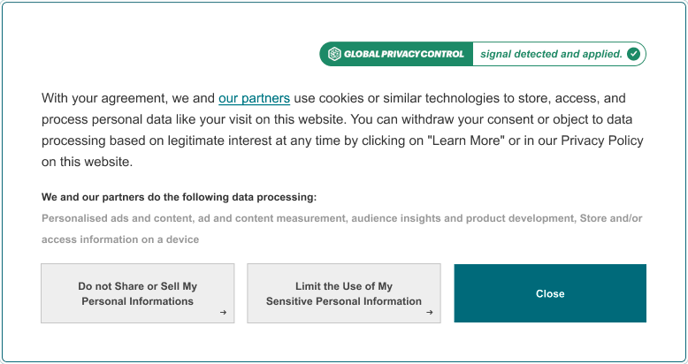
There is no option yet to enable or disable GPC from the console. It is automatically supported.