You can create your own categories of purposes for your web or app consent notices.
This will make the 2nd layer of your banner, dedicated to the purposes, easier to read, as they will be grouped into large purpose families
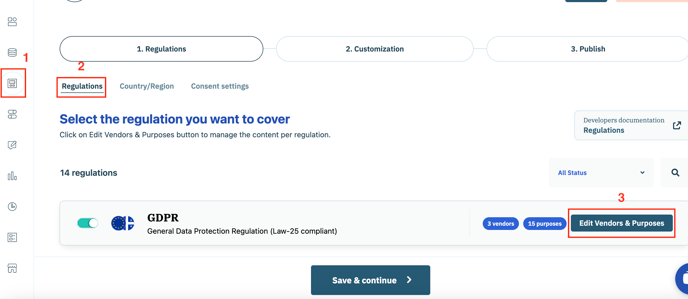
Go to the Consent Notices (1) section and step 1. Regulations (2).
Go to GDPR regulation then click on Edit Vendors & Purposes (3)
Category management is only available for GDPR. CPRA offers default mandatory categories that cannot be customized.
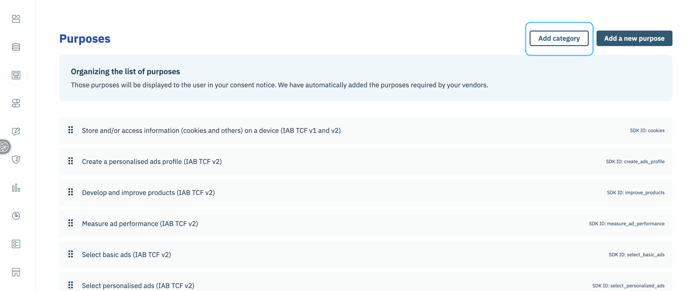
- Scroll down to the Purposes section and click on Add category (for example, perhaps you'd like to create a category called "Personalised Ads").
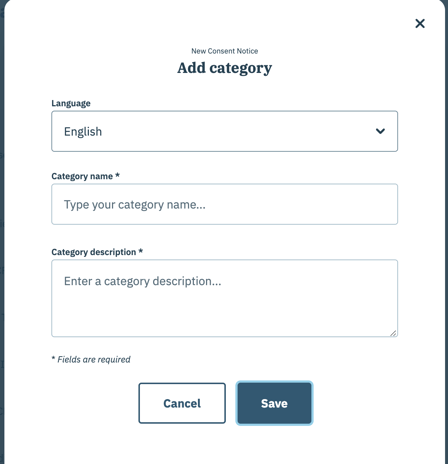
- Add a language,
- Add a name and description.
- Click on Save.
You can also click on "Expand category when showing the list of purposes" if you want the category to be by default 'unfolded' on the 2nd layer of the banner.
In order for the category to be displayed in the preferences view (i.e., second layer of the notice) it must contain at least one purpose.
To add a purpose, drag and drop the purpose under the desired category. Purposes available for drag and drop will appear according to the vendors selected.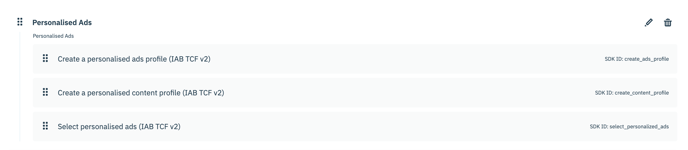
As mentioned, your category will appear on the second layer of your notice or"preferences view". Users will be able to accept all the purposes included in this category in a single click. They can also make more granular choices by accepting/refusing purpose by purpose.
