In the “Regulations” step of creating your consent banner, you'll need to select the vendors to add to the banner for each regulation you wish to cover. Vendors must always be linked to purposes.
Vendors in the Didomi console
There are 4 types of vendors already in our database:- IAB vendors who are part of the IAB TCF framework (and linked to the IAB purposes they have previously chosen). You can find them in this list.
- Google ATP vendors included in the Ad Technology Providers list provided by Google. You can find them in this list.
- Commonly used vendors that are not part of the IAB TCF framework (non-IAB vendors) or the Google ATP list.
In addition to these vendors, you can also create your own vendors (i.e. custom vendors) and link them to any purpose you wish, even if the vendor already exists in the Didomi database.
Some IAB vendors include only special features or special purposes, with no purpose as defined in the Didomi Console. Consequently, no purpose will appear for these vendors in the Data Manager.
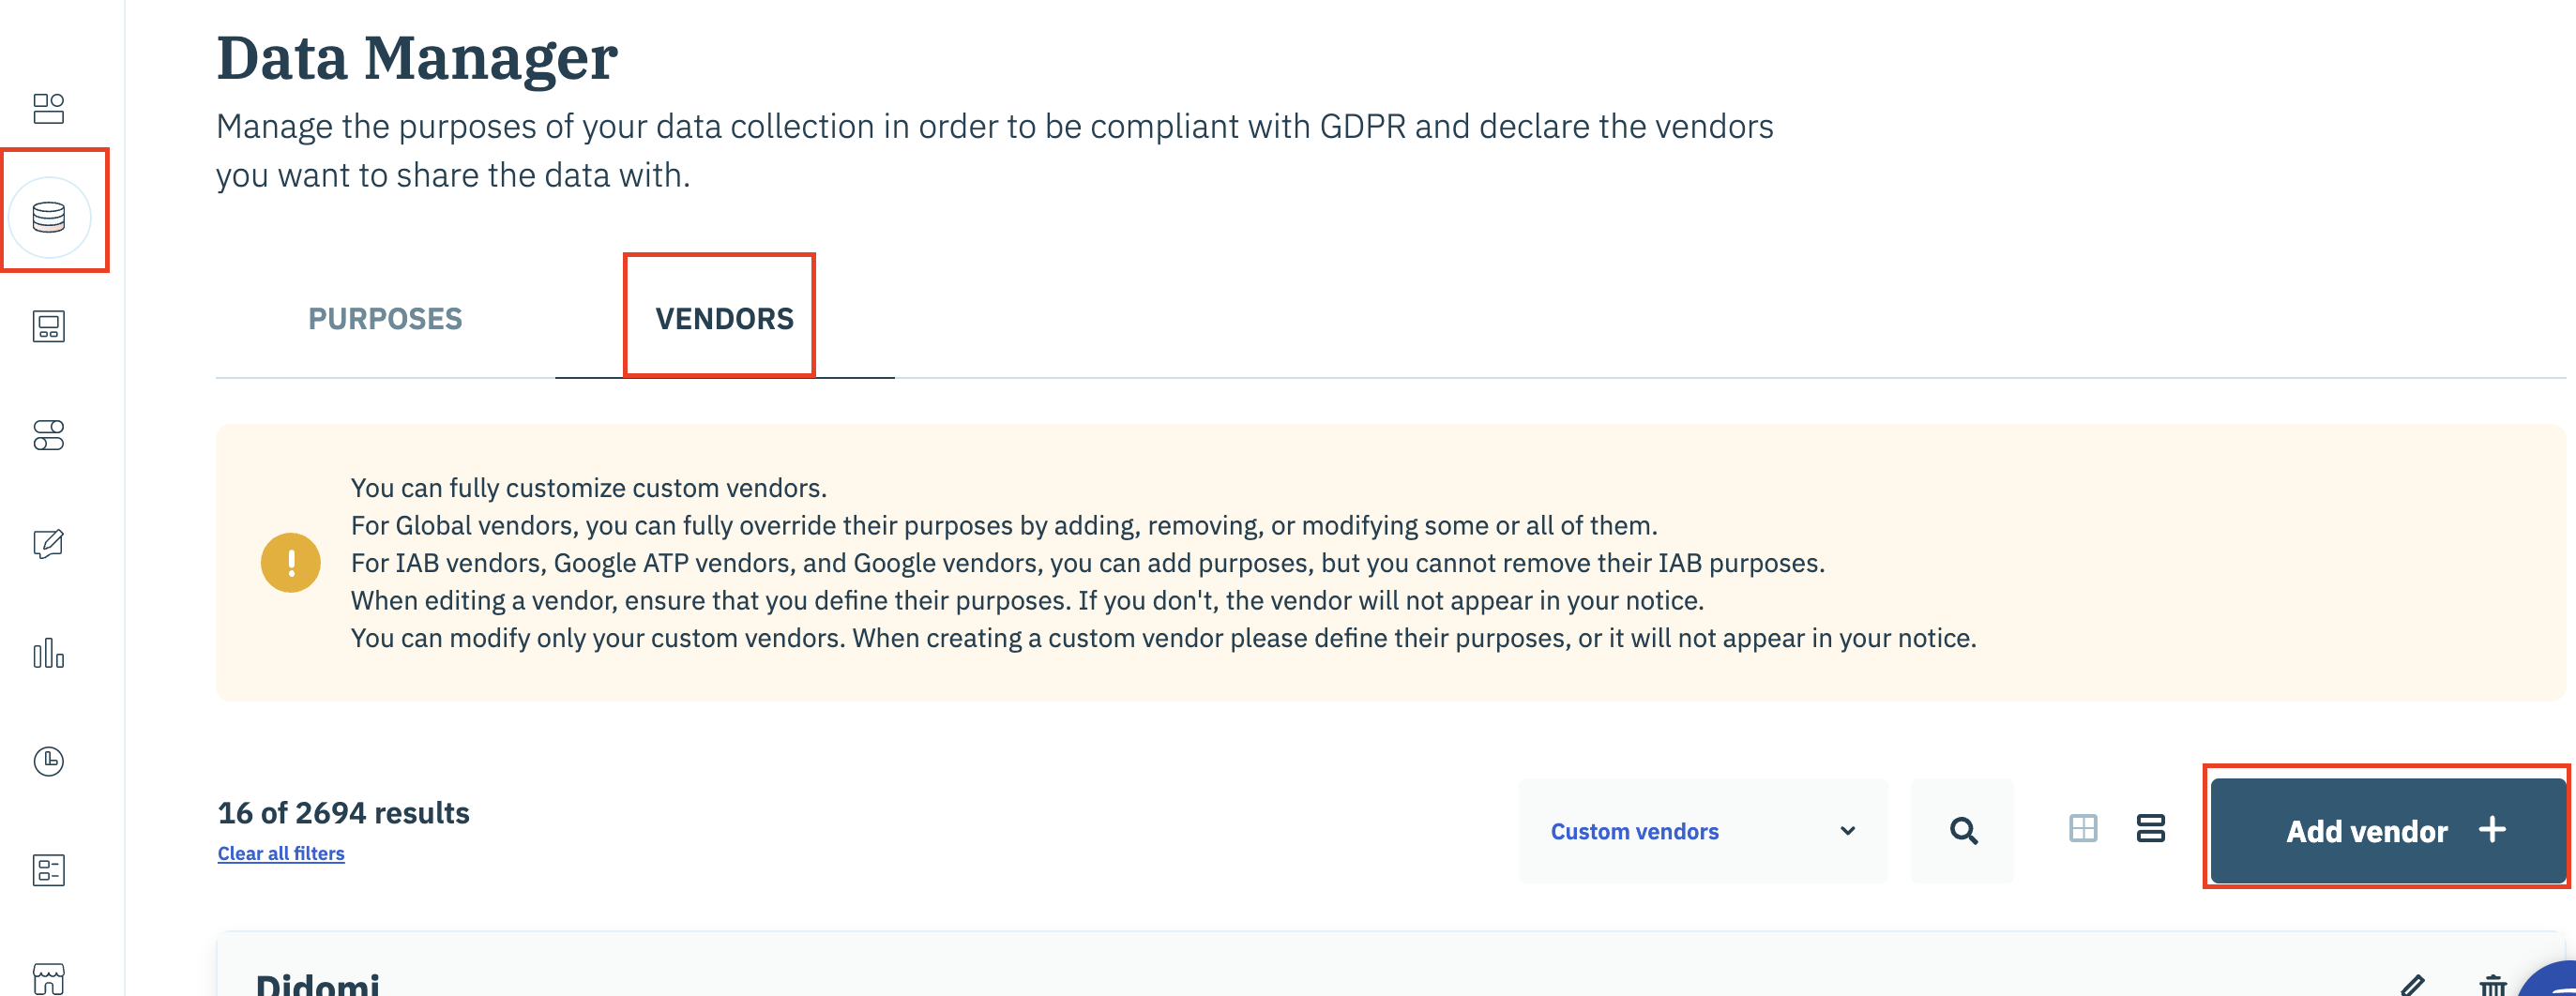
How to create my custom vendors?
You can create your custom vendor directly in the Consent Notice section of your console or from the Data Manager section.
If you want to link your vendor to custom purposes, we suggest you start by creating your own custom purposes.
To create a vendor via the Consent Notice section, proceed as follows on the left-hand side of your screen (1)
- Select your Banner
- Click on the “Regulations” tab in step 1. Regulations. (2)
- Click on “Edit Vendors & Purposes” to the right of each regulation (3)

- Click on Add a new vendor (4).

- Fill in the fields, starting with the vendor name (1).
- If necessary, identify this vendor as your property (2).
- Add the vendor's privacy policy (optional) (3).

- Add purposes according to your needs.
- Scroll down to find the purposes you need.
👉 If none of the purposes meet your needs, you can create your own custom purposes.
👉 Vendors can have two types of legal basis for their purposes: consent or legitimate interest. You can choose which legal basis to assign to your personalized vendors and purposes.
- Choose your consent-based purposes. (1)
- Choose your purposes based on legitimate interest. (2)

Add additional information
You can add additional information about:
- Storage:
Cookie information includes duration in seconds, days or months.
If the vendor has additional storage, this can also be added. Additional storage includes cookies, application storage and web storage with relevant information attached.
To specify additional storage, you need to provide the name, domain and purposes for which it is used.

- Contact(s) relating to this vendor:
If you wish, you may include your company's address, e-mail or telephone number (preferably the DPO or a confidentiality address).

Add advanced information and other links (optional)
You can also add advanced information via the Advanced section.
In particular, you can specify a custom SDK ID to be associated with this vendor if you need to force their SDK ID rather than use the automatically generated ID (for example, if you're importing existing consent banners from JSON configurations).
Once you've filled in all the fields, don't forget to click on “Save”.
The information to be filled in is the same as when creating the vendor in the banner configuration.
Edit or delete a vendor
If you need to modify or delete any of the vendors you've created:
- Go to the Data Manager section of the Didomi console.
- Click on the Vendors tab.
- Find the vendor you wish to update or delete.
