Standard mandatory fields
In order to configure a scan we need to configure the new scan with a name, a domain and a country from which the scan will be performed.
- Type your website’s name and its URL (https://mywebsite.com).
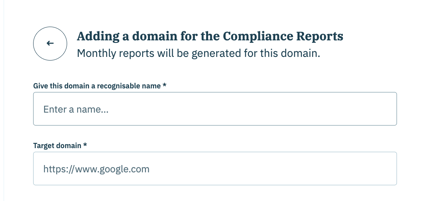
- Select the country where you'd like our bot to scan from

The country field can be selected from a dropdown list and it can have one of the following values: Belgium, Canada, France, Germany, Great Britain, Spain, United States
Advanced settings
If you want to explore extra settings for the Compliance Report click on "Enable Advanced Settings". There you can configure the following:- Frequency: The frequency used to automatically scan your website. More details on this feature here.

- Number of pages (crawl depth): the depth of the crawl allows you to adapt the audit according to the number of pages of your website. You can audit from 1 to 20 randomly selected pages each time you run the monitoring. The pages are analysed randomly by our robot, so you get a general view of compliance of your website after a few days.

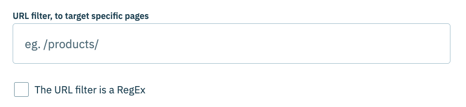
- Page filtering: you can target your audit to a specific part of your website by filtering the URLs. For example, if all the product pages on your website contain "/products/" in the URL:
- Enter "/products" and the robot will only browse pages whose URL contains "/products/”.
- You can also choose a regular expression as a URL filter. Check the box "The URL filter is a RegEx" and enter your regular expression.
If you would like any further information about the regular expressions, check our article.
- Clicking on elements: If you use the CSS selector, which is optional, please make sure to indicate the class (.class) or ID (#id) of your HTML component. For more information about the CSS selector check out our related article.

- User agent: In order to provide extra security when scanning your website you can insert here a custom user agent, as free text, that will be used by our bot when scanning your website. This user agent will need to be whitelisted on your side. For more information about whitelisting check out our related article.

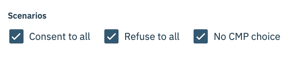
- Scenarios: You can also choose which scenario will run during the scan. By default the bot navigates onto the website and imitates the user behaviour of accepting, refusing or not interacting with the notice. If one of these scenarios is not implemented on your notice or it has a custom implementation you can always disable it. More information on how multi scenarios work is available here.
Once your audit is set up, be sure to check the box that states you are the owner of the website or that you are performing the audit on behalf of the owner. Indeed, the audit must imperatively be authorised by the publisher of the website. Save your settings by clicking on SAVE.