⭐CMP Vendor Sync is a premium feature. Please contact your Account Manager if you are interested in activating it.
1️⃣ Go to the feature
Go to the "Consent notices" section on the left menu, and click on "Manage Vendors list" :

Then click on the "Create a template" blue button :
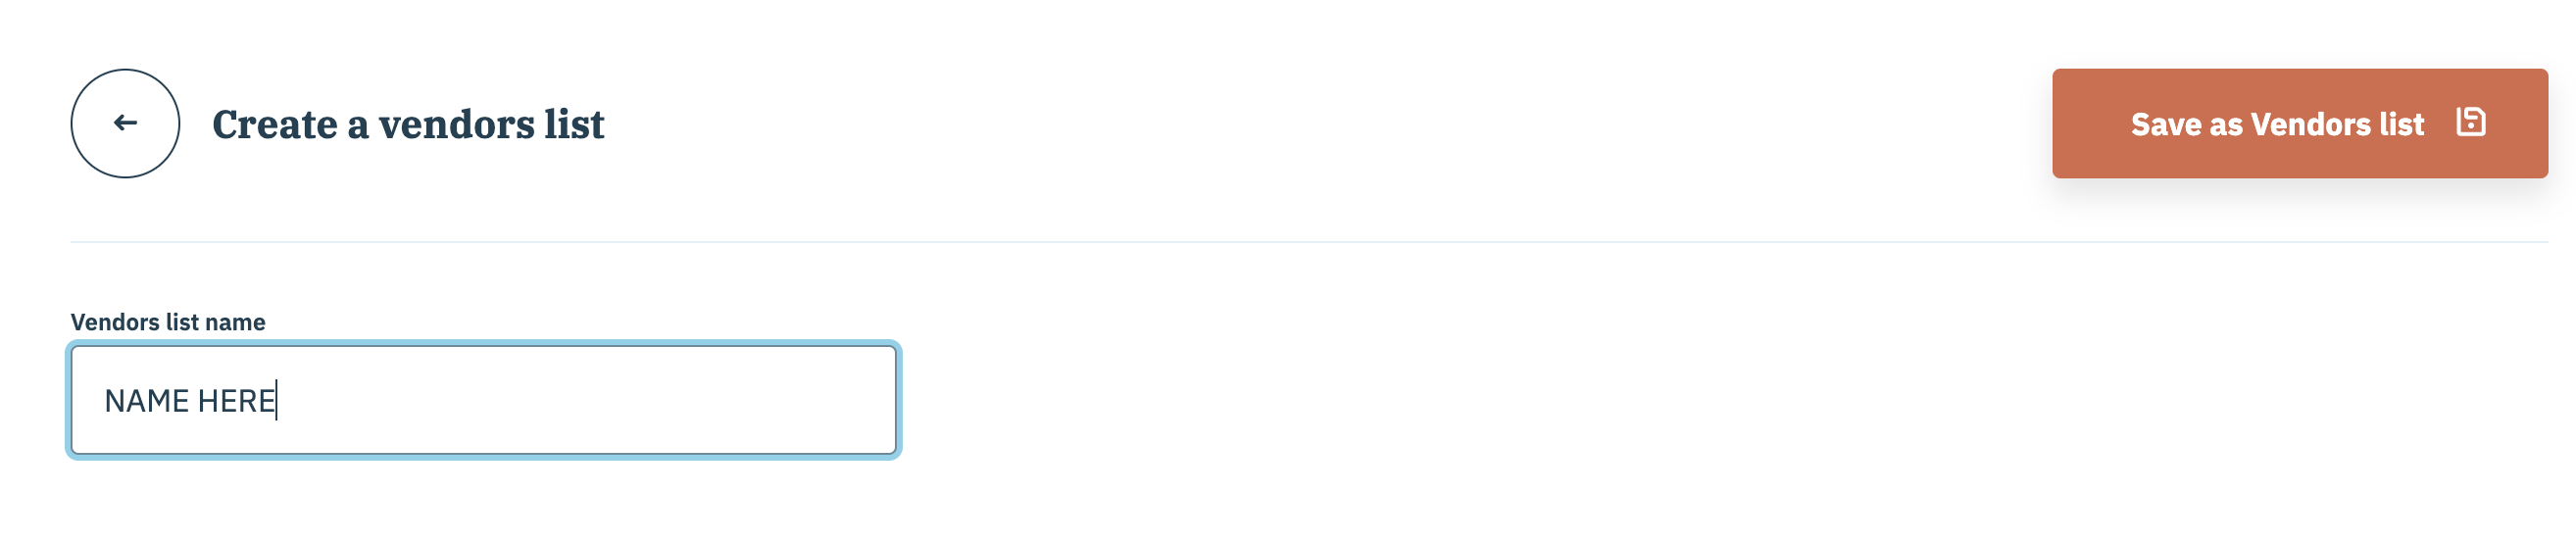
Give a name to the Vendors list, and click on the "Save as Vendors list" button :
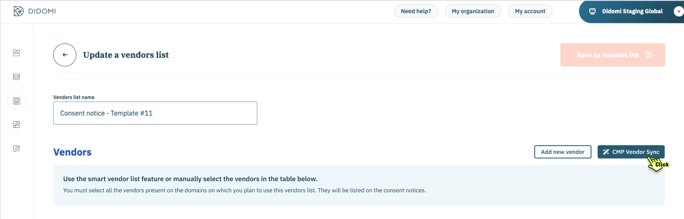
Finally, access the CMP Vendor Sync (CVS) from the Vendor List page by clicking in "CMP Vendor Sync" button :
NB : The CVS is not currently available for the set-up of single notice. It is only available as part of a Vendor List. For more information about Vendor Lists and how you can use them to set-up your notices, please read this article.
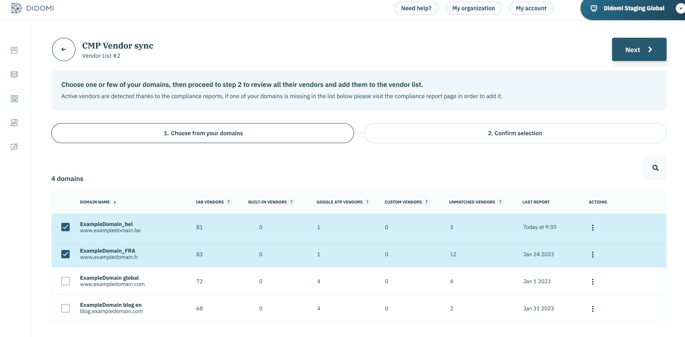
2️⃣ Select the domain(s)
The table contains all domains already added to the Compliance Report. For each domain it shows the number of vendors detected in the most recent reports and organised by type:
- IAB vendors : The vendors part of the IAB Global Vendor List, which is managed by IAB.
- Built-in vendors : A roster of common vendors available in the Console. It’s managed by Didomi.
- Google ATP vendors : The vendors part of the Google ATP vendor list, which is managed by Google.
- Custom vendors : The vendors created and managed by your organisation in the Data Manager module.
- Unmatched vendors : The vendor domains detected on your domains that were not automatically matched with an already mapped vendor (a built-in vendor, a custom vendor,...).
Select one or more domains from the table.
If you are looking for a domain that is not on the list, simply navigate to the Compliance Report using the left bar menu, add the domain, wait for the report to be generated, and then return to the CVS.
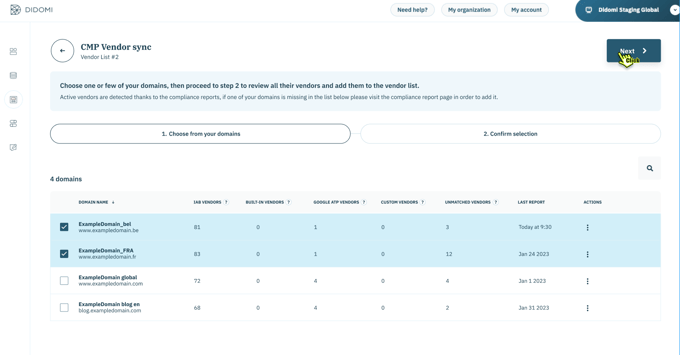
3️⃣Click NEXT
This brings you to the full list of detected vendors.
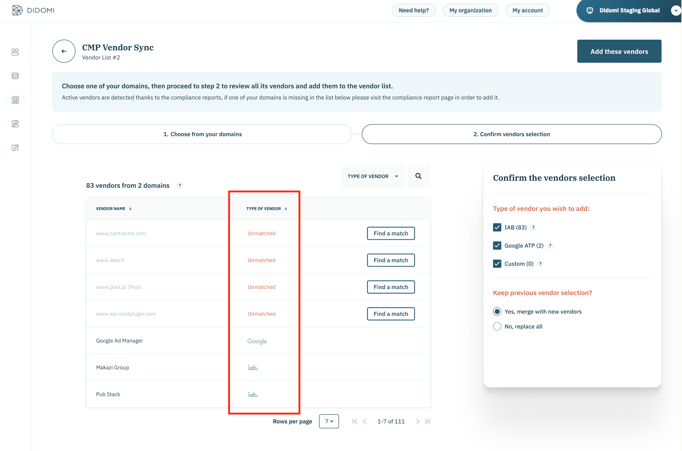
4️⃣Review the list of the vendors to be added to your Vendor List.
The list showed here contains all the vendors detected on the selected domains.
In case of a vendor with an unknown domain is detected, it’s displayed here too, but with the “unmatched” label. All the unmatched vendors domains will not be added in the vendor list until they are not manually matched. For more information about the vendor matching process, please read this article.
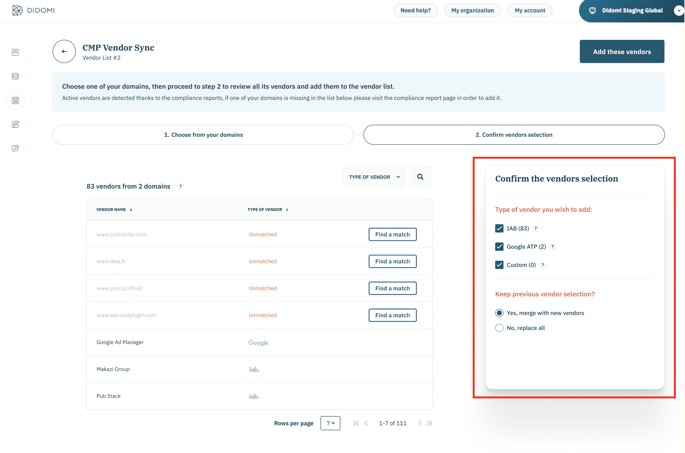
5️⃣Check the vendor selection options.
By default, all the types of vendors are selected, but you can restrict the selection by using the checkboxes. There are 2 different ways to add vendors to your vendor list:
- A) Choose "Merge with new vendors" to keep the vendors already selected on the Vendor List.
- B) Choose "No, replace all" ; this will override to deselect the vendors currently selected on the Vendor List.
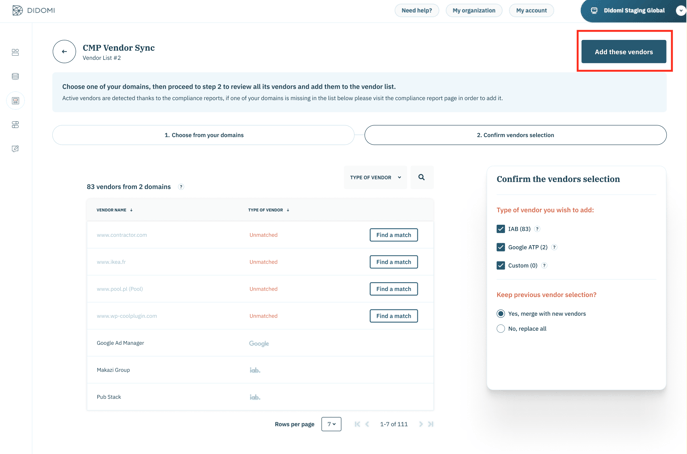
6️⃣Click “Add these vendors” and confirm.
Please note that after giving the confirmation, you will not be able to undo this action: the vendors will be added to the Vendor List and the changes will be automatically saved.
You will now be back on the Vendor List page, and you will see that the added vendors are now selected in the Vendors table. You can use the filter “Selected vendors” to easily check the final result.